This page may contain affiliate links. If you click and buy, we might get a small commission at no cost to you.
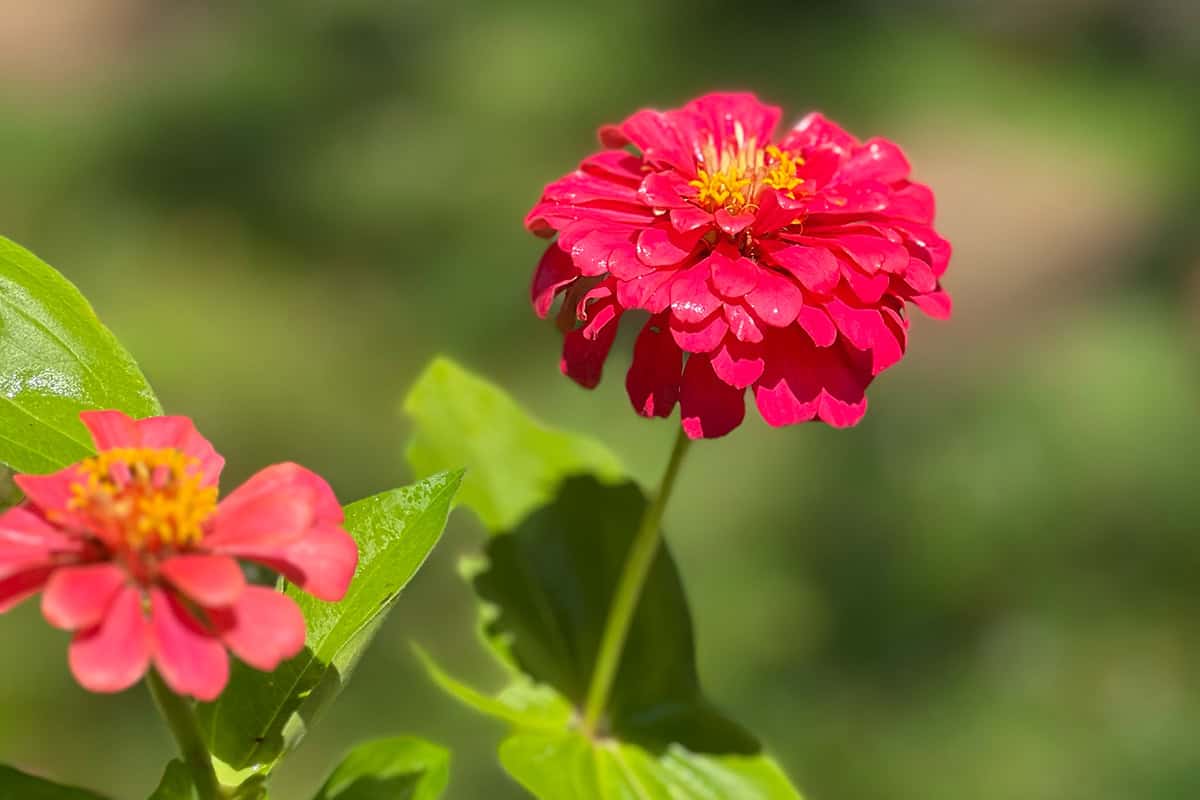
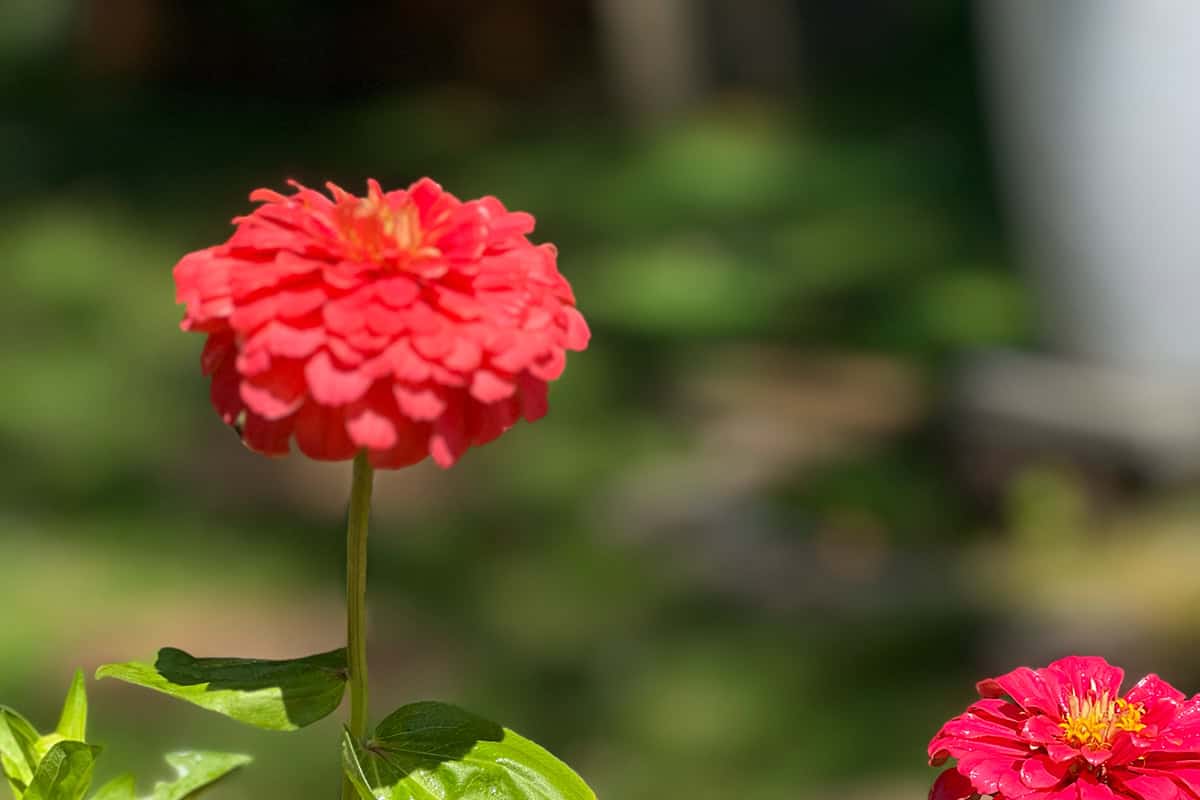
Zinnias are vibrant and colorful flowers that can brighten up any garden or patio. Known for their easy maintenance and stunning blooms, zinnias are a favorite among gardeners. Native to Mexico and Central America, zinnias thrive in warm climates and are well-suited for growing in various environments. They are typically found in meadows and grasslands where they enjoy plenty of sunlight.
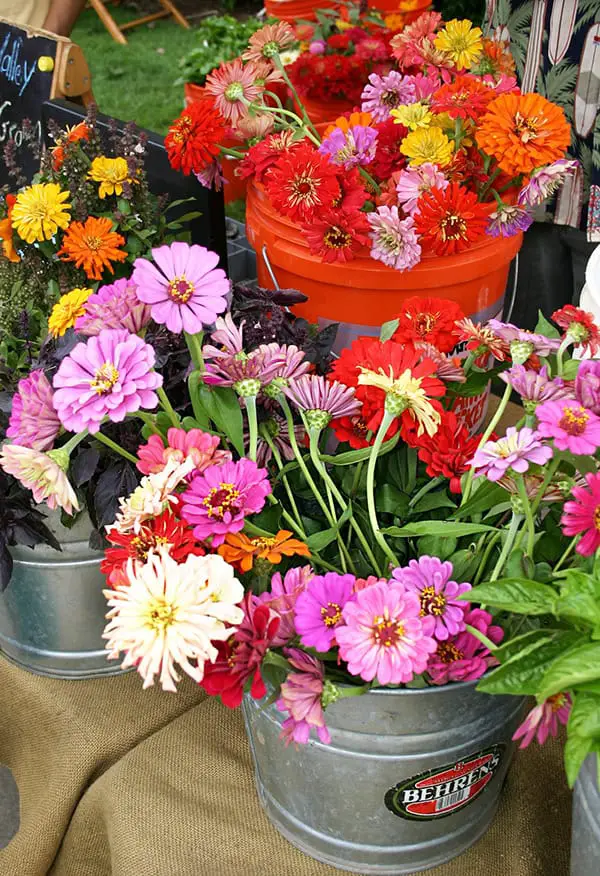
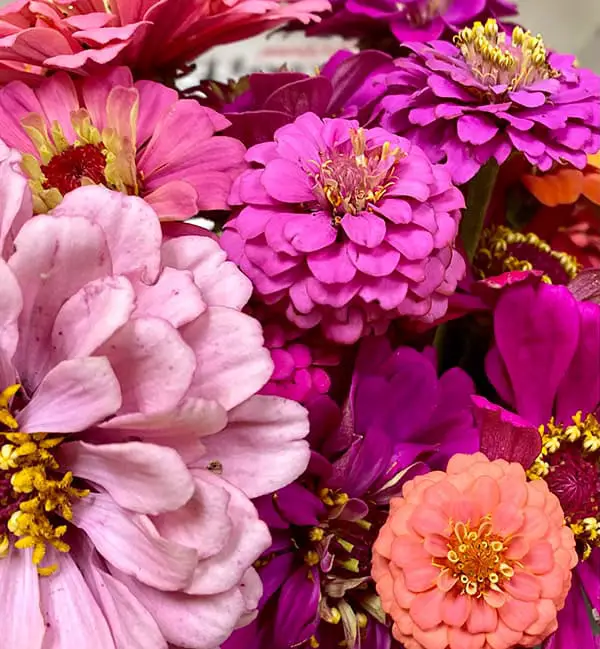
Zinnias bloom from late spring to the first frost, producing a dazzling array of colors including red, pink, yellow, orange, and white. Their bright, daisy-like flowers can vary in size and shape, making them versatile for different gardening styles. Whether in a garden bed or a container, zinnias bring a splash of color and charm.
How to Grow Zinnias in Pots Successfully
1. Choosing the Right Variety
When growing zinnias in pots, it’s important to select the right variety that suits container gardening. Some popular dwarf or compact varieties include ‘Thumbelina’, which grows to about 6 inches tall and produces small, vibrant flowers in a range of colors like red, yellow, and orange. Another excellent choice is ‘Short Stuff’, which reaches 8-12 inches in height and offers a beautiful mix of colors.
For those who prefer slightly taller plants, ‘Profusion’ zinnias are a great option. These grow up to 12-18 inches and are known for their disease resistance and prolific blooming. They come in stunning shades of orange, pink, and white. ‘Dreamland’ zinnias are also a popular choice, reaching about 12 inches in height and producing large, 4-inch blooms in a variety of colors. Selecting the right variety ensures that your zinnias will thrive in pots and provide continuous blooms throughout the growing season.
2. Selecting the Ideal Pot
Choosing the right pot is crucial for the healthy growth of zinnias. Opt for a pot that is at least 12 inches in diameter to give the roots ample space to spread. The pot should have good drainage holes to prevent waterlogging, which can lead to root rot. Terra cotta pots are a popular choice because they are porous and allow for better air circulation around the roots, but plastic containers or decorative planters can also work well.
Ensure that the pot is deep enough to accommodate the root system. A depth of at least 12-15 inches is ideal for zinnias. If you plan to grow multiple plants in one pot, make sure the container is large enough to provide sufficient space for each plant. Proper pot selection not only supports healthy root development but also helps in maintaining the overall health and appearance of the plant.
3. Preparing the Soil
Zinnias thrive in well-drained, fertile soil. For potting, use a high-quality potting mix that provides good aeration and drainage. A mix specifically designed for container plants is ideal, as it will often include ingredients like peat moss, perlite, and vermiculite, which help retain moisture while ensuring proper drainage. Avoid using garden soil in pots, as it can become compacted and hinder root growth.
You can enhance the potting mix by adding compost or a slow-release fertilizer to provide essential nutrients. Zinnias prefer slightly acidic to neutral soil with a pH between 5.5 and 7.5. To achieve this, you can mix in some organic matter like compost or well-rotted manure. Preparing the soil properly ensures that your zinnias have a nutrient-rich environment to support their growth and flowering.
4. Planting Your Zinnias
Planting zinnias in pots can be done either by direct sowing seeds or transplanting seedlings. If you choose to start from seeds, plant them after the last frost date in your area. Sow the seeds about ¼ inch deep in the soil and space them 2 to 3 inches apart. Keep the soil consistently moist until the seeds germinate, which usually takes about 5-10 days.
If you prefer using transplants, plant them at the same depth they were growing in their nursery containers. Gently loosen the root ball before planting to encourage root spread. After planting, water the soil thoroughly to help the plants establish. Ensure that the pots are placed in a sunny location to provide the necessary light for germination and growth. Proper planting techniques are key to getting your zinnias off to a strong start.
5. Watering and Fertilizing
Zinnias require consistent moisture, especially during the germination and blooming periods. Water the pots regularly, keeping the soil evenly moist but not waterlogged. During hot, dry weather, you may need to water daily. It’s best to water in the morning to allow the leaves to dry out during the day, which helps prevent fungal diseases.
Fertilizing zinnias in pots is essential for continuous blooms. Use a balanced, water-soluble fertilizer every two to four weeks during the growing season. Alternatively, you can use a slow-release fertilizer mixed into the potting soil at planting time. Follow the manufacturer’s instructions for application rates. Regular watering and fertilizing will ensure that your zinnias remain healthy and produce abundant, vibrant flowers.
6. Providing Proper Sunlight
Zinnias thrive in full sun, so it’s important to place your pots in a location that receives at least 6 to 8 hours of sunlight each day. Insufficient sunlight can result in leggy growth and fewer blooms. If growing zinnias indoors, place the pots near a south-facing window where they can get ample light. You can also use grow lights to supplement natural sunlight if needed.
For outdoor pots, move them to the sunniest spot in your garden, patio, or balcony. If you notice that your zinnias are leaning towards the light source, rotate the pots regularly to ensure even growth. Providing adequate sunlight is crucial for the healthy development and flowering of zinnias.
7. Pruning and Deadheading
Pruning and deadheading zinnias are important practices to encourage continuous blooming and maintain the plant’s appearance. Regularly remove spent flowers by pinching or cutting them off just above a set of leaves. This process, known as deadheading, prevents the plant from setting seed and promotes the growth of new flowers.
In addition to deadheading, you can pinch back the stems of young plants to encourage bushier growth. Pinch off the top 1-2 inches of the stem just above a leaf node. This will stimulate the plant to produce side shoots and more flowers. Pruning and deadheading are simple but effective techniques to keep your zinnias looking their best throughout the growing season.
8. Managing Pests and Diseases
Zinnias are generally resistant to pests and diseases, but they can occasionally be affected by issues such as aphids, spider mites, and powdery mildew. Regularly inspect your plants for any signs of trouble. If you notice pests, treat them promptly with insecticidal soap or neem oil. For powdery mildew, ensure good air circulation around the plants and avoid overhead watering.
If a plant becomes severely infected, it’s best to remove and dispose of the affected parts to prevent the spread of disease. Keeping the pots clean and free from debris also helps minimize pest and disease problems. Regular monitoring and prompt action will help maintain the health and beauty of your zinnias.
9. Overwintering and Seasonal Care
In colder climates, zinnias are grown as annuals, meaning they complete their life cycle in one growing season. However, if you live in a region with mild winters, you can try to overwinter your potted zinnias indoors. Before the first frost, move the pots to a bright, frost-free location, such as a sunny windowsill or a greenhouse.
Reduce watering during the winter months, allowing the soil to dry out slightly between waterings. In the spring, gradually reintroduce the plants to outdoor conditions by placing them outside for a few hours each day, increasing the time gradually. With proper care, you can enjoy your zinnias for another season. Overwintering and seasonal care help extend the life and enjoyment of your potted zinnias.
Frequently Asked Questions about Growing Zinnias in Pots
Q: When is the best time to plant zinnias in pots?
A: The best time to plant zinnias in pots is after the last frost date in your area.
Q: How often should I water my potted zinnias?
A: Water your potted zinnias regularly, keeping the soil evenly moist but not waterlogged.
Q: Can zinnias be grown indoors in pots?
A: Yes, zinnias can be grown indoors in pots if placed near a sunny window or under grow lights.
Q: What type of soil is best for zinnias in pots?
A: Use a high-quality potting mix that drains well and is slightly acidic to neutral.
Q: How do I fertilize zinnias in pots?
A: Use a balanced, water-soluble fertilizer every two to four weeks during the growing season.
Q: Do zinnias need full sun to grow well in pots?
A: Yes, zinnias require at least 6 to 8 hours of full sun each day to thrive.
Q: How do I prevent pests and diseases on my potted zinnias?
A: Regularly inspect your plants and treat any issues promptly with insecticidal soap or neem oil.
Q: Can I overwinter zinnias in pots?
A: In mild climates, you can overwinter zinnias indoors by placing them in a bright, frost-free location.
Q: Should I deadhead zinnias grown in pots?
A: Yes, regularly deadhead spent flowers to encourage continuous blooming.
Q: How do I encourage bushier growth in potted zinnias?
A: Pinch back the stems of young plants to promote side shoots and more flowers.

")
