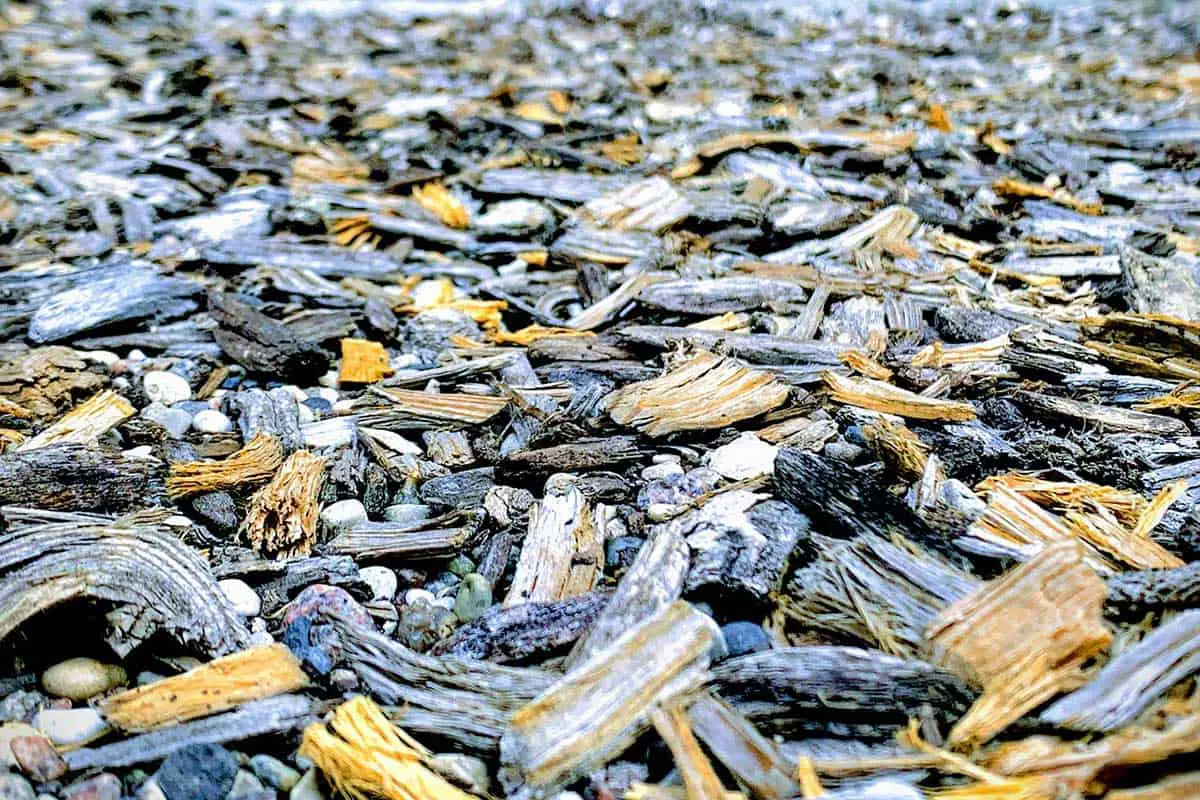
This page may contain affiliate links. If you click and buy, we might get a small commission at no cost to you.
Whether you’re an avid landscaper or a homeowner looking to spruce up the garden, learning how to keep mulch in place saves money and time. It’s all too common to lose your mulch to wind and rain; however, there are some simple ways to keep it in place, so you don’t constantly have to bring in more! This article will cover six practical ways to keep your mulch from washing away.
How to Keep Mulch From Washing Away
1. Flatten Your Surface First
If you’re mulching a space that isn’t completely flat, this will encourage the mulch to slide around and collect in the flattest part of the landscape. It’s a good idea to prep your ground before adding any mulch by raking the surface of your garden thoroughly until there are no significant mounds or divots.
By maintaining a level ground, you’ll have better luck with your mulch staying in place. This method will work best when combined with any of the following tips!
2. Edge the Garden
Installing a perimeter is a great way to hold any mulch that may shift out of place due to weather or inadequate drainage. After installing a border, it’s easy to redistribute your mulch if it collects around your edge.
You can install a perimeter in a few ways depending on the type of material you want to use. If you’re going to keep it natural, use some short plants around the border. A few good options include:
- Creeping thyme
- Sweet woodruff
- Hostas
These plants will grow together a bit better than some alternatives to ensure you have a barrier that will keep the mulch inside your perimeter. If you’re not interested in using plants, you can also consider using materials like stone, brick, concrete, metal, or wood.
One of these options may stand out as being the best for you, depending on what materials are most accessible in your area and the type of weather you have.
Stone is a great way to add a more stylistic look to your garden and keep it looking organized but still relatively natural. Concrete will do a great job because you can line each block right up next to each other so that nothing can escape through.
The last option for creating a perimeter is to trench your edge. By making a small divot, you can collect any mulch that washes away and redistribute it in your garden space. This is ideal if you live in an area that doesn’t get a lot of rain, as several inches of rain will be enough to flood your trench.
The other downside to a trench is that it requires more frequent maintenance; however, it’s by far the cheapest option since all it takes is a shovel.
3. Start with Thin Layers
If you start by placing thin layers of mulch in your garden, you’ll be able to compact it layer by layer to avoid erosion. Often if you loosely pile mulch into your garden space, it’s more likely to move around and wash away in the rain.
After each layer, pack your mulch down either by walking on the surface or using the back end of your shovel. If you start with only a few layers, you can slowly build your mulch pile over time to reduce any erosion.
4. Buy Heavier Mulch
If you’re using a light weight mulch, it’ll wash away more quickly. Therefore, as you build on your layers, consider the type of mulch you’re using. If you opt for heavier mulch, you won’t need as many layers to keep a solid foundation in the garden which will reduce labor.
If you live in a rainy climate, light mulch will result in significant losses. It does not have the weight to sustain any wind or water running through it. Heavier mulch will hold its ground a bit better with water flow and winds.
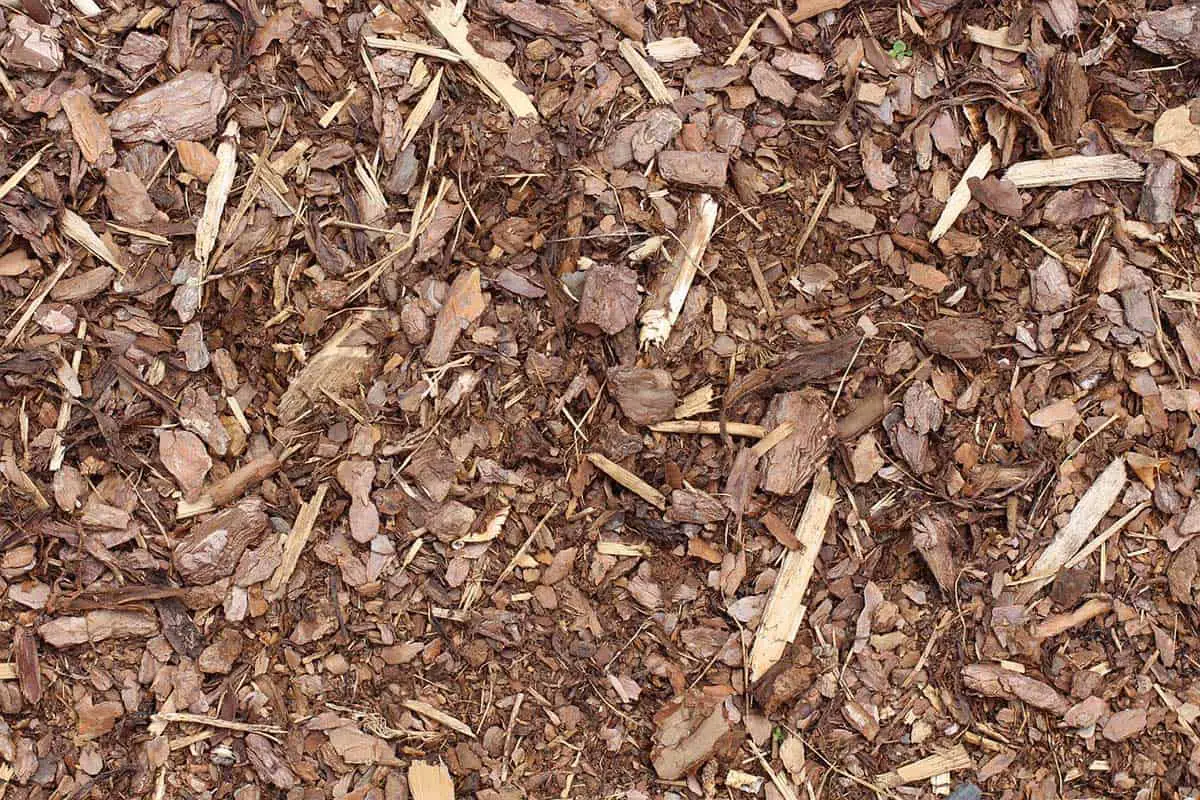
However, you’ll also need to consider what you’ll be planting before choosing a mulch weight. Some heavier mulch is not ideal for plant health. The large pieces can be challenging to use when planting, so even though it’s staying in place, it’s not promoting a healthy garden.
If you must opt for a lighter mulch to aid in the growth of your plants, be sure to use the next few tips to help you hold that mulch in place.
5. Plant Some Ground cover
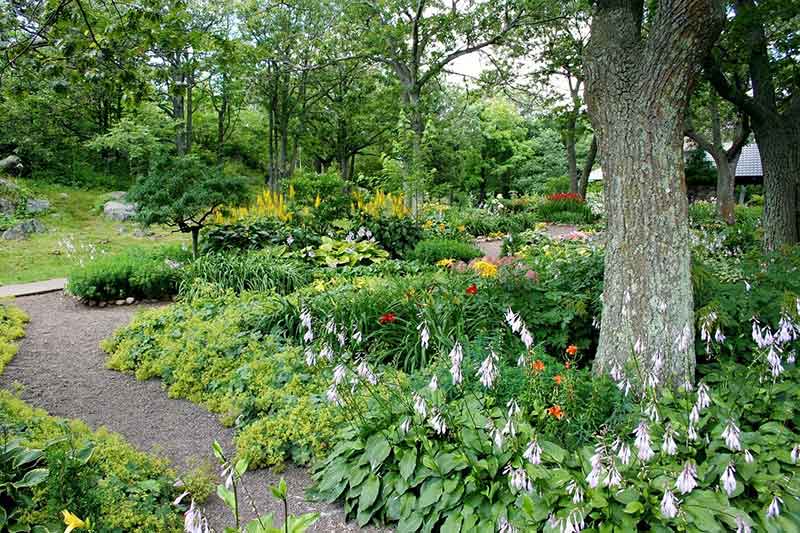
Ground cover does a great job of holding onto mulch while also creating a bit of a maze that makes it much harder for mulch to escape. As your ground cover grows and expands, it creates a layer over the mulch, further protecting the substrate you’ve placed.
Some of the best plants to use are the same ones mentioned for creating a plant perimeter. Look for ground cover like:
- Sweet woodruff
- Creeping thyme
- Periwinkle
- Ice plant
- Coral Bells
These are small plants that stay relatively low to the ground. They won’t become the star of your garden but are attractive enough to be the sole plant in the mulched area if necessary.
6. Install or Improve Drainage
If you don’t have any drainage in your mulched area, installing some is a good idea. Especially if you live in a rainy climate, your mulch will get waterlogged and move around much more quickly if the water doesn’t have a way to escape. This is especially problematic if you have a tight barrier around the mulch without any gaps.
This could simply look like making paths for water to drain out of your perimeter that won’t allow a lot of mulch to escape with it. When planning to install drainage, think about what will be easiest to maintain while also being aesthetically pleasing.
If you think you need a lot of drainage, you can install pipes along the edges of your mulched area to reroute any water that may enter the space. You can easily get pipes that blend into your garden space as not to be unattractive. If you use pipes along with groundcover, your piping will be even more hidden.
When installing your drainage system, think about the catchment. Depending on where your water flows, this can catch all of the eroded mulch. Remember that you won’t want to remix this mulch into your garden if it’s mixed with a lot of dirt since this can affect your plant health. However, if you’re mostly losing mulch, you can get it from the catchment to reintroduce into your garden space.
This is a great way to salvage the mulch that you’re losing; however, when combined with some of the earlier tips, you’ll see a reduction in the amount of mulch eroding. The more of these tips you use, the better luck you’ll have in saving your mulch from washing away.
