This page may contain affiliate links. If you click and buy, we might get a small commission at no cost to you.
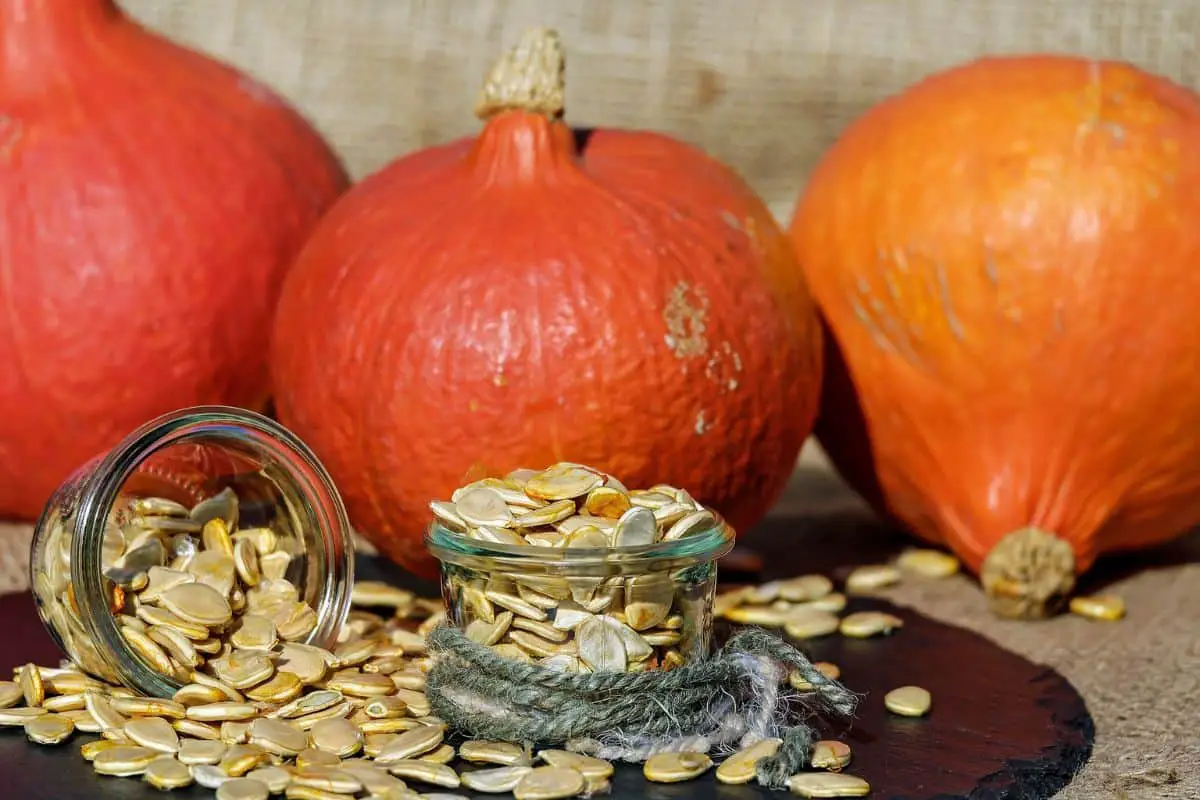
Did you know you can plant seeds from your Fall pumpkins? That’s right! With the right preparations, you can save the seeds to plant in next year’s Fall garden. With a few simple steps, you’ll be ready to plant your pumpkin patch in no time.
Keep reading to learn how to prepare pumpkin seeds for planting.
How To Prepare Pumpkin Seeds For Planting
To prepare pumpkin seeds for planting, you just need to go through a few simple steps of cleaning and drying them to get them ready. When conditions are right, your pumpkin seeds will be ready to plant.
1. Remove The Seeds From The Pumpkin
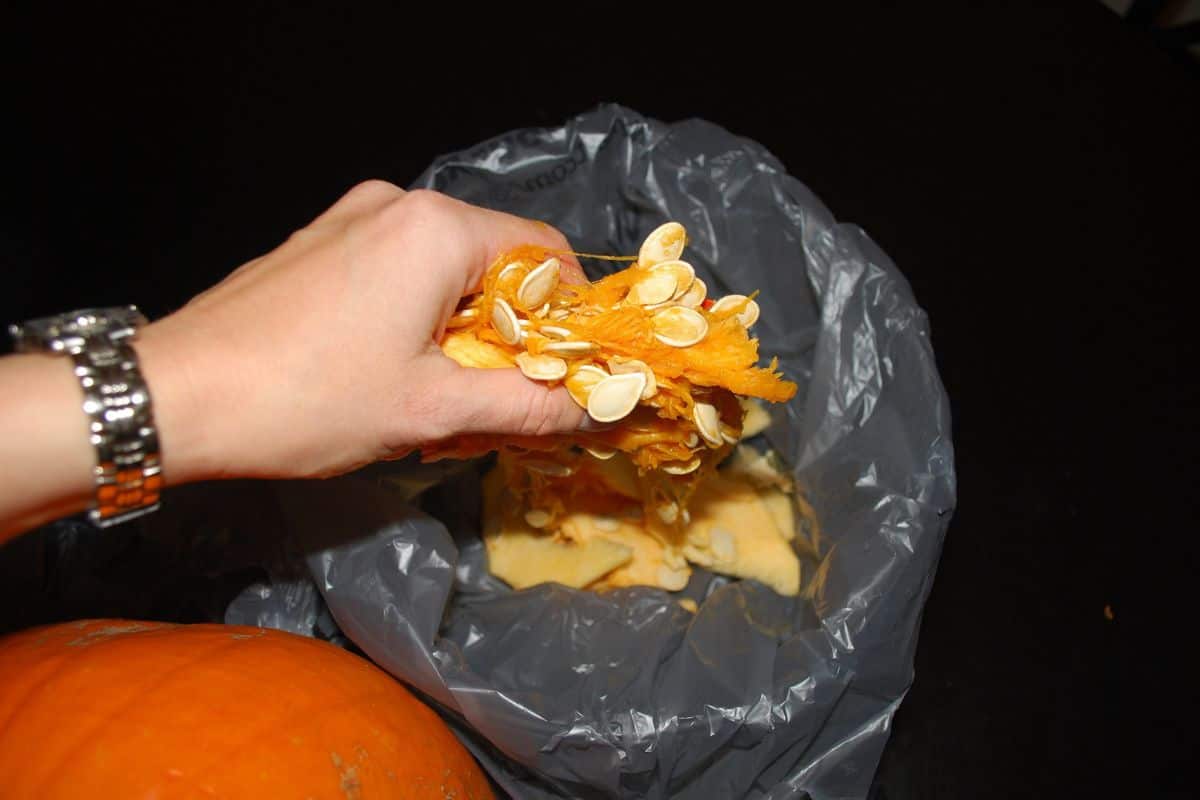
Start by removing the seeds from the pumpkin. If the pumpkin is fresh, the seeds will be plump and moist. If the pumpkin is older, the seeds may be shrunken and dry.
This is the fun part of preparing the pumpkin seeds for planting. You can use your hands or a big spoon. Just reach in there and scoop out the guts of the pumpkin.
Usually, you can just scrape out the inside of the pumpkin and seeds will be clumped together in the middle. Clean out all those insides and set them off to the side.
2. Separate The Pulp From Seeds
Once you get all of the insides removed from the pumpkin, you need to separate the seeds from the pulp. You can do this by simply picking seeds out.
Just be prepared, it might get a little messy. Pumpkin pulp and seeds can be slimy but this is an important step. You need to remove all of the pieces of pumpkin pulp so the seeds don’t grow mold.
You want to place the seeds into a colander or some kind of strainer. One at a time, pick all the little stringy pieces of pulp off the seeds.
3. Wash And Clean Seeds Thoroughly
Now that you have just seeds and no pulp in the colander or strainer, wash the seeds under cold water thoroughly. You’ll want to really move them around and mix them up under the water.
Continue washing until the seeds are clean. They may still feel a little slimy but should not have excess pulp on them.
When you think you have washed them enough, wash them some more. You really want to get them thoroughly washed so that there’s no bacteria or fungus that can grow.
4. Lay Seeds Out For An Initial Drying
Use a cookie sheet with wax paper or paper towels, or use just a layer of paper towels on your countertop. Spread the seeds out in a single layer on the paper.
Wax paper is best to prevent sticking but paper towels will work if you don’t mind peeling the seeds off. You can also use parchment paper.
Make sure that the seeds are not touching each other, as this can lead to mold growth. Let the seeds dry out in the open for 24 to 48 hours, or until they are completely dry to the touch.
Make sure the pumpkin seeds have plenty of air flow to dry them out thoroughly. You don’t want them exposed to moisture or humidity during this process.
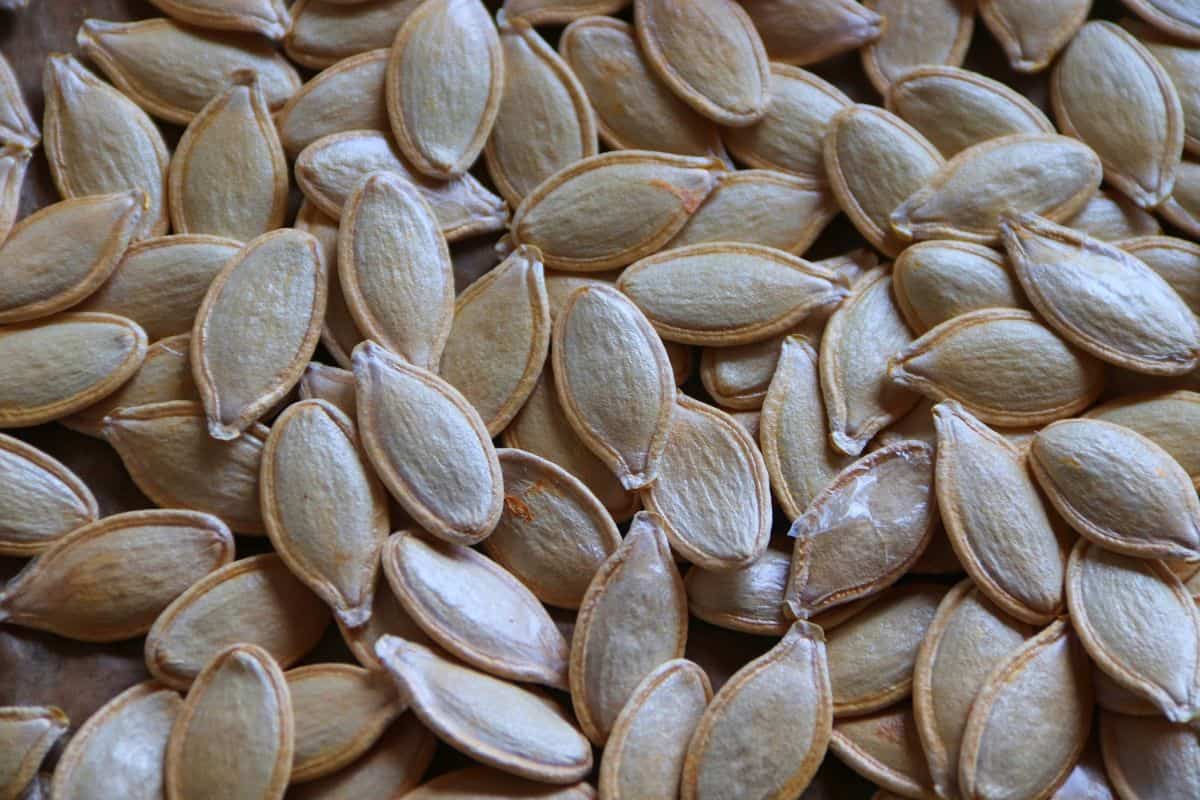
5. Sort Through Seeds To Remove The Bad Ones
After the seeds have dried some, start going through them and taking out the bad ones. Big plump seeds are going to be more likely to grow.
You want to get rid of any that looked diseased so that they don’t contaminate the whole batch. You also want to check for any that are discolored or have mold on them.
6. Lay Out Again To Dry For A Longer Period
Now you’ll want to have a cool dry place to keep the seeds for at least a month to fully dry out. The refrigerator is a good place or even a cold dry root cellar.
Replace the wax paper or paper towel from the initial drying with clean pieces. Lay out the seeds in a single layer and spread them out. Allow them to set and dry for a few weeks to a month.
Normally, this would be occurring into the wintertime. So imagine your Thanksgiving pumpkin seeds drying through the month of December. That’s about how long you want them to dry for.
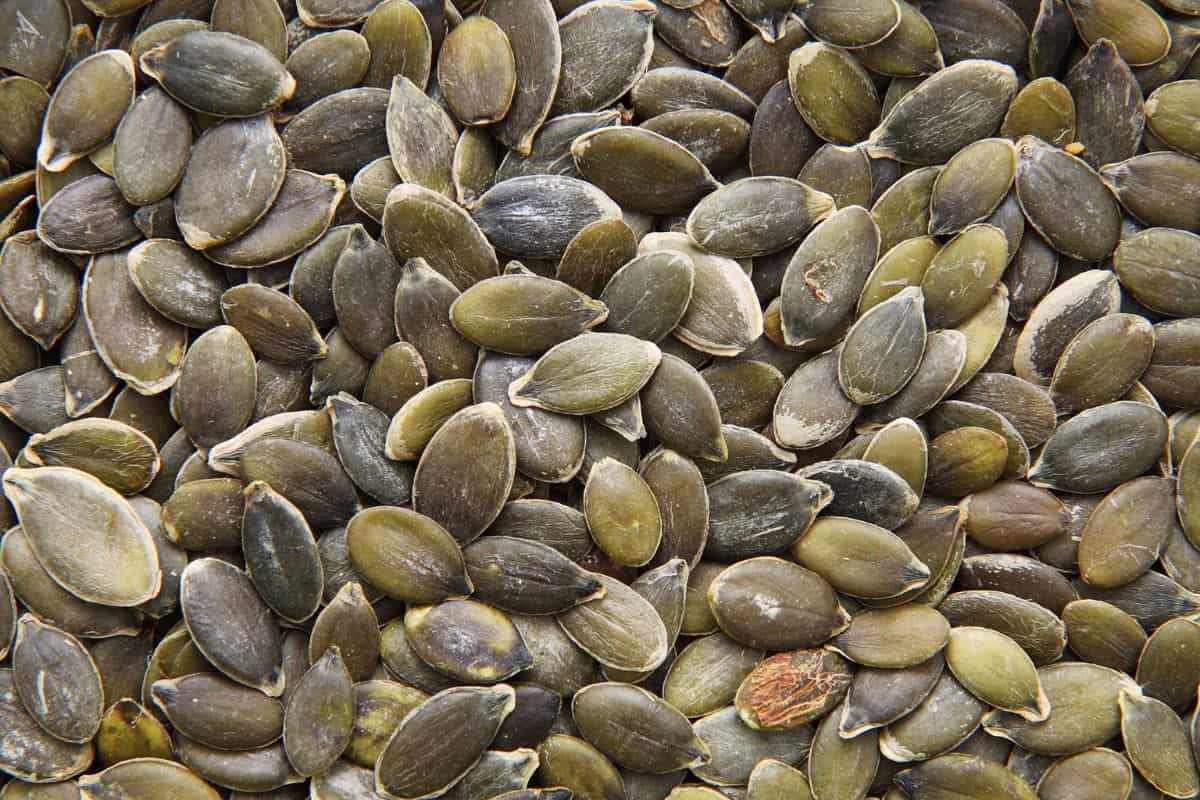
7. Store Pumpkin Seeds In A Cool Dry Place Until Ready To Plant
After a few weeks of drying, the pumpkin seeds are ready to be planted or to be stored until the next planting season. Conditions have to be right for the seeds to sprout.
You can put the seeds in a container and store them in your refrigerator to ensure they won’t sprout. Any place that is dry and cool will be safe for your pumpkin seeds until you’re ready to sow them.
Pumpkin seeds need to be dry to store for two reasons. First, if the seeds are too moist, they will start to germinate and won’t last as long in storage. Second, moisture can encourage the growth of mold and other harmful bacteria on the seeds.
Your dried pumpkin seeds will last several months if stored properly. Each Fall pumpkin harvest can produce seeds for next year’s Fall pumpkin patch.
Your Pumpkin Seeds Are Ready To Plant In Early Summer
The best time to plant your pumpkin seeds for your Fall garden will be in late May through early July. Pumpkin seeds sprout best in temperatures above 65°F.
Pumpkins tend to grow more quickly in hotter climates. If you’re in a colder climate, you’ll want to plant your seeds earlier in the season, and hotter climates will plant later in the season to have pumpkins ready for Halloween and Thanksgiving.
In Conclusion
Following these simple steps will ensure that your pumpkin seeds are prepared and ready to plant so that they will germinate properly. You always want to make sure your pumpkin seeds are dried and stored in a cool place so they don’t mold or mildew. Pumpkin seeds from this Fall will be ready for planting in the next season.


