This page may contain affiliate links. If you click and buy, we might get a small commission at no cost to you.
If you enjoy gardening or want to maintain your lawn, you’ll want to consider composting. Building your own compost pile in your backyard is an easy and beneficial project that lets you create a product to add valuable nutrients to your soil.
Composting is the natural process of using the right mix of materials so they decay or breakdown into what is sometimes called “black gold.” This nutritional final product will help improve your soil’s fertility, structure, and water-holding capacity.
Composting is a way to live a greener and less wasteful lifestyle with minimal effort on your part. This article covers 5 steps to create your first compost pile in your backyard using the simplest method.
How to make a compost pile in your backyard
Here are 5 steps to starting your own compost pile, including useful tips.
1. Select a suitable location and season
A compost pile should be located close enough to your home to provide convenience, yet not against any structures. You should try to compost on the ground, as you can get some additional benefit from worms in the surrounding ground.
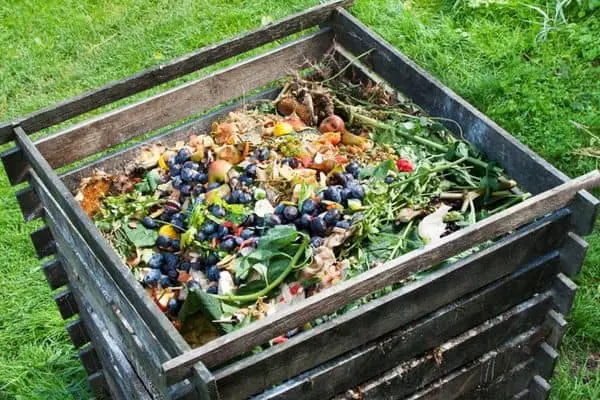
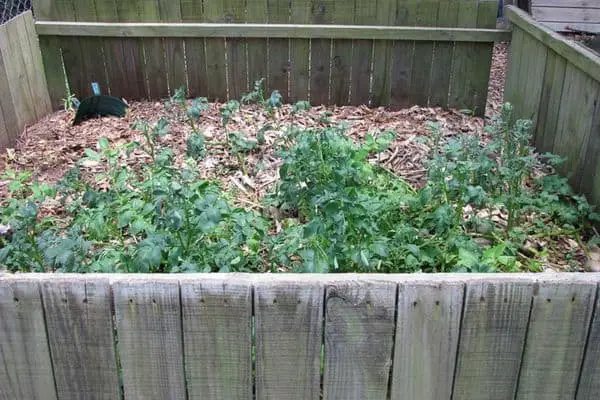
You may want to build a basic container around your compost or purchase a compost bin but it isn’t necessary as the next steps will show. To create a basic container, you can place wooden posts in a square plot measuring around 3 x 3 inches.
You can also enclose the space with rocks. If you choose not to have a bin or enclosure, you may want a cover to protect your compost pile from rain.
It’s also best to start composting in the fall. During this time of year, there are plenty of carbon and nitrogen materials available (as explained in step two, why this is important.) Starting in the winter can be too cold and starting in the spring or summer has fewer carbon materials.
2. Prepare the right compost materials
While it seems like most things can be composted, you shouldn’t add all of them to your compost pile. The composting process requires a mix of carbon and nitrogen-producing materials, air, and water to break down. Nitrogen sources are called green material and carbon sources are called brown materials.
It’s important to keep the right balance of green and brown materials (50:50) in your compost pile since this will impact how quickly the process occurs. For example, if you have a brown ratio that is too high, you can add nitrogen fertilizer to your compost.
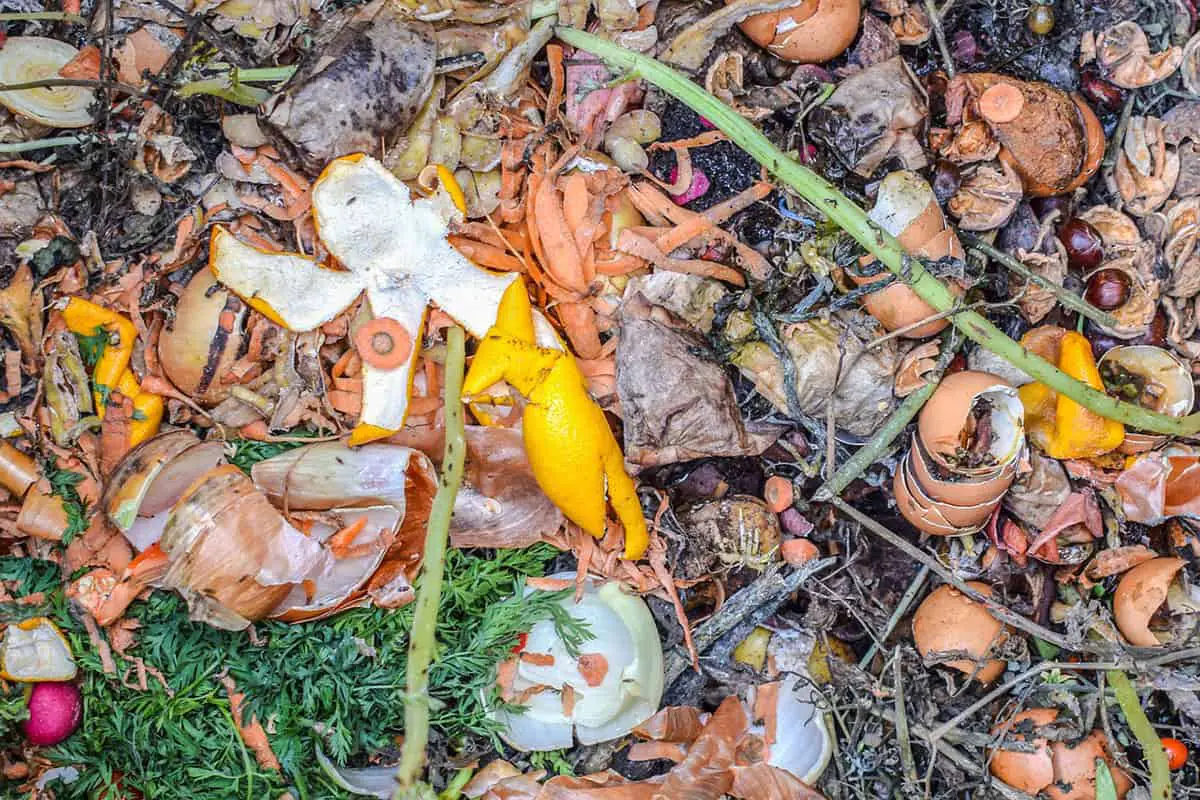
On top of the brown and green materials listed below, you’ll want to add eggshells to help increase calcium levels in your final product. Also, make sure to chop up larger materials into smaller pieces or shred them so the breakdown process occurs faster.
Green materials you can compost
- Grass clippings and other fresh/green yard waste
- Kitchen scraps, such as fruit and vegetable peels
- Tea
- Coffee grounds
Brown materials you can compost
- Dried leaves
- Soiled cardboard
- Shredded paper, including newspaper
- Sawdust or wood shavings
- Small sticks and branches
What not to compost
Here is a list of things that shouldn’t be composted or will take too much time to breakdown:
- Dairy products
- Animal by-products, such as meats and bones
- Fats and oils, including peanut butter, mayonnaise, and salad dressing
- Pressure-treated wood
- Large branches or sticks
- Black walnut tree leaves or twigs
- Plant roots
- Weeds
- Diseased or pesticide-infected plant matter
- Pet manure, especially for compost used on food crops
- Plastics, including biodegradable plastics
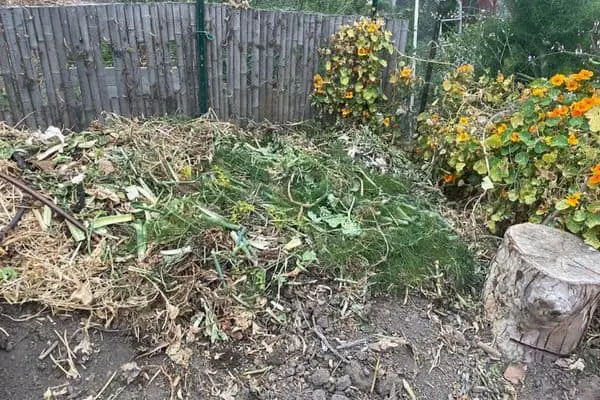
3. Layer your materials
Now it’s time to create your compost pile. Using the materials you have, you’ll want to add them in the right layering order:
- First layer: brown (carbon) materials
- Second layer: green (nitrogen) materials
- Third layer: topsoil
- Air-flow layers: every 8 inches, add coarse materials such as twigs or larger plant stems to support airflow needed for the decay process
Make sure not to keep any food waste at the top of the pile or it might attract rodents and other critters.
4. Maintain your compost pile
While you could just leave your compost pile to break down at its own rate, you can speed up the process by properly maintaining it. This includes:
Watering
The decay process will stop if your compost pile gets too dry. It’s important to water it and aim for an evenly moist compost pile. Too much water can cause a rotten order.
If you live in a rainy habitat, make sure to cover your compost pile. If you find your compost pile is damp in the center only, it may be too small of a pile.
Stirring and turning
Make sure to stir your compost pile to turn the matter around by mixing the materials on the outer edges into the middle and vice versa. The frequency of how much you add to the pile will determine how frequently you stir. If you rarely add new layers, you can turn and water it every 4 to 6 weeks.
Turning your compost pile is the most important part of maintaining your pile but also the most time-consuming. While simply piling up your materials in layers is the most budget-friendly option, you can also purchase a compost pile tumbler that easily turns to mix up the materials.
Checking temperatures
The hotter your compost pile, the faster the breakdown process will occur. The center of the pile should maintain heat levels above 110 degrees Fahrenheit. Turning your pile can help improve heat levels.
However, if your pile gets too hot, it means you don’t have enough air or carbon materials in it.
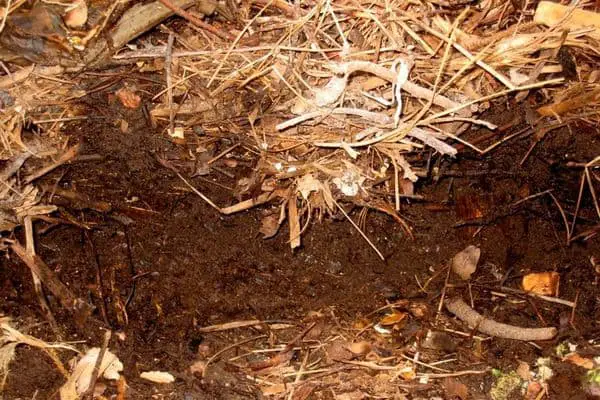
5. Use your ready compost

Your compost will only be ready once all the materials you added have broken down. Before using it in your garden or on your lawn, make sure it’s rich, dark soil with an earthy smell. The temperature of the pile will also drop significantly.
Small compost piles started in the fall typically are ready 3 to 4 months later. However, if your pile isn’t hot or turned frequently, the process could take up to a year.
You can use your compost for:
- Topdressing on your flower or vegetable garden to improve the soil
- Adding a compost ring around the base of trees
- Mixing into holes dug for planting new plants
- Spreading on your lawn to improve grass health


