
This page may contain affiliate links. If you click and buy, we might get a small commission at no cost to you.
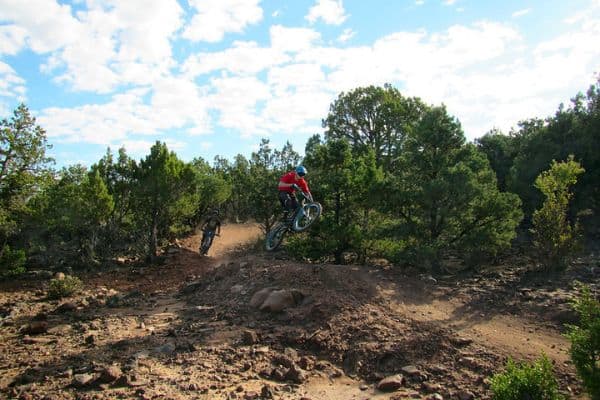
Whether you’re just getting into mountain biking, want a private practice space, or plan to introduce the sport to your kids, having your own trail in your backyard comes with plenty of benefits. It gives you a great outdoor activity to engage in and makes use of your property space creatively.
To guide you through how to make a mountain bike trail in your backyard, we’ve put together all the basics you need to know to get started. You can even build a trail in a property space of less than one acre!
Following these 6 straightforward steps, you’ll have a mountain bike trail to ride on for hours of fun in no time.
How to Make a Mountain Bike Trail in Your Backyard
1. Gather your tools and materials
Before you get started, there are some basic materials and tools you will need to build your mountain bike trail. Gather the following items to make the process easier:
- Wood beams and scraps
- Dirt
- Drill
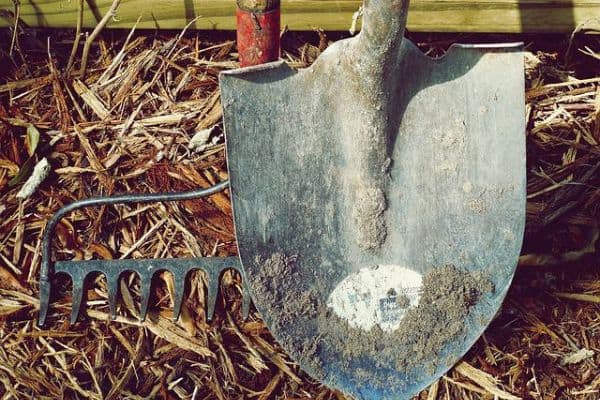
- Shovel
- Saw
- Ax and a pick ax
- Branch clippers
- Rake
- Nails or screws
- Weed eater
You might also want to buy some inexpensive, fast-growing trees to plant in your yard, especially if you don’t have a wooded area. This allows you to practice riding your mountain bike through trees.
2. Find a suitable location and route
First, you have to explore your grounds to find a suitable location for your mountain bike trail. Depending on what your yard looks like or what type of trail you want, the right location will differ.
For example, if you want a flow trail along different slopes, you’ll need the location to have fewer rocks, trees, and vegetation. For technical trails, you’ll want to have rock sections, trees to navigate around, and roots. Perhaps your property allows for a hybrid trail that combines the two in different sections.
While you explore your area, sketch out a simple map of the trail you want to create. You can then outline the trail using marking tapes. Make sure to re-route your trail if an area seems too dangerous, such as a turn being too sharp.
3. Start the foundation
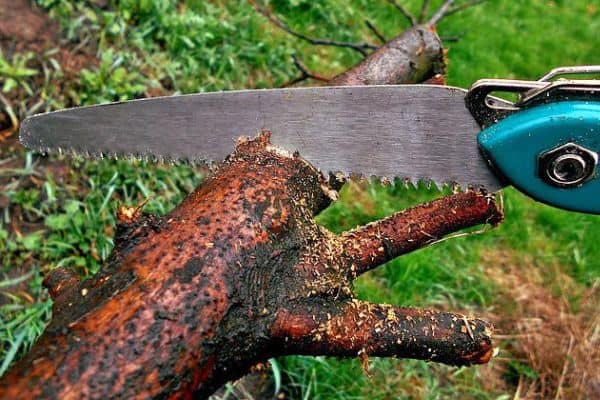
Now that you know where your mountain bike trail will be and you outlined the route, it’s time to get the tools out. At this step, you’ll need your branch clippers, saw, weed eaters, and shovel.
Cut and trim any twigs, branches, and stems that can get in the way when you are riding. You’ll want the weed eater to clean out the trail route to set the foundation for riding. The goal is to make the area passable.
In places you want to have jumps, make sure the trail is wide enough and nothing overhead can be dangerous. You can also use the shovel to start the foundations for drops, jumps, and berms.
4. Build the basic trail
Now that the trail is cleared out and passable, it’s time to build the basics of the trail. Before our next step of adding fun features, you want to make sure the trail is safe and secure.
You’ll want to assess areas that might erode, especially in corners or locations you want to place jumps and berms. Don’t force adding a feature in an area where the rain can erode your trail since the goal is to have fun and be safe during the rides.
Ways to prevent erosion include:
- Digging trenches along the sides of corners so they don’t lose their shape or erode
- Building small tunnels or canals so rainwater can leave the trail and prevent puddles
- Make sure your trail is slightly slanted so gravity can help pull mud and water down and out
The best way to dig along your trail is to start at the highest part and make your way down. Then level out the bottom section of your trail by removing any accumulated dirt. However, this dirt can also be used for features, as explained in the next step.
5. Add fun trail features
Trail features are customizable to the type of trail you want and let your ride be more fun. You can even start off with a basic trial and add different features later on. While you can get creative, here are four common features to add along your trail. Just make sure not to have them all too close together.
Jumps
You can easily create a jump by piling up enough dirt into a mound. Jumps are usually more tilted than drops because the aim is to slingshot you into the air. There are typically two types of jumps:
- Tabletops – a mound of dirt formed like a mini mountain where your bike takes off
- Gap jumps – half triangle-shaped mound and is the receiver where your bike lands after a jump
If you want bigger tabletops than the dirt you have available, you can layer the mound with wood. Place the wood layer, pile it with dirt, and repeat until the jump is at the height you want.
Drops
These are similar to jumps, except they are intended to give you air time when you drop off it. They are basically sliced up chunks of land instead of mounds of dirt.
North Shores
These are narrow bridges in your trail you can create over existing natural features or between trees. You can easily build the bridge using scrap wood. If your bridge has turns, make sure the beams are a little longer around the corners.
Berms
A berm is dirt-packed up onto the sides and lets you make tight turns while maintaining speed. The size of the berm will depend on the turn and you can always use wood or rocks layered in to make it bigger. The basics, though, are to pile dirt into a long pile on the side of the turn. Pack it down and repeat until it’s a high enough bank.
6. Harden the trail soil
While it can be tempting to start riding your trail immediately, there’s one last step! Make sure to harden the soil on the trail by watering it using a hose. For 2 or 3 days, sprinkle water on the soil until it hardens to prevent damaging all your hard work. Then get ready to have fun!


")